
All Microsoft applications, Word, Excel, PowerPoint, etc., were specifically created for Windows users. However, due to their popularity, even the Mac users were attracted to use them. To satisfy its growing market, Microsoft introduced Excel for Mac.
Let learn how to install Excel on your Mac device.
1. Download the Office file
Using Safari or any other browser on your Mac, go to www.office.com and sign in with the account associated with your version of Office and download the office file.
Then save the file on your device. The file has numerous applications; therefore downloading it means you have also downloaded Excel.
2. Once the file has been completely downloaded, locate it on your pc and double click on it.
3. Upon clicking, the office installer is displayed. Double click on the Office installer to initiate the process of installing.
4. The installation process of an office application on a Mac involves a series of steps. Firstly, after clicking the installer, a new screen pops up. The screen is also referred to as the Introduction window since it contains an introductory message.
5. At this point, click "Continue" to proceed to the next screen.
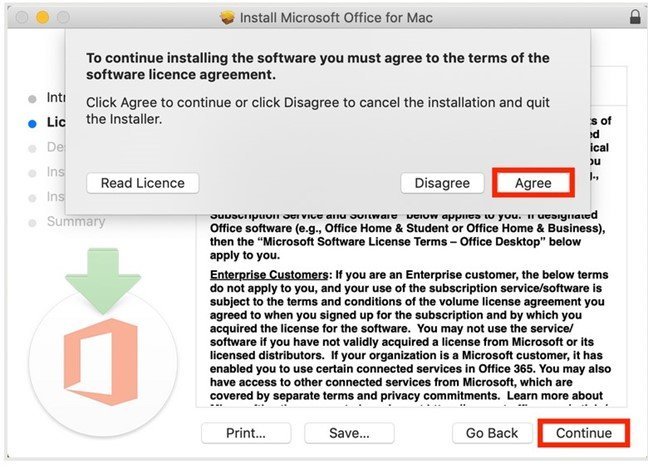
6. On the new screen, you will be prompted to read and agree to the terms and conditions of using the software. Go through the set term and conditions and then click the "Agree" button to agree with the terms. Then click the "Continue" button to open the next screen.
7. You are required to select the location on your Mac device where the office software will be installed. After setting up the location of installation, click the "Continue" button.
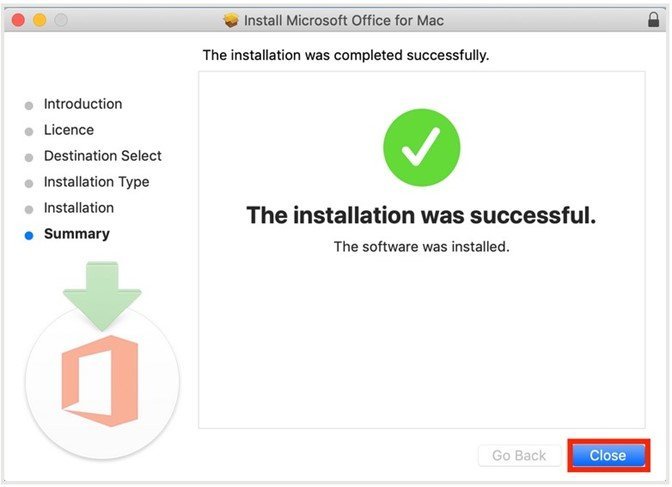
8. In the "Installation Type" screen, click the "Install" button and the file will start to install itself automatically. After it has been done with the installation process, it will throw the successful message as shown below.
9. Go ahead and activate the Excel Software. On your device, open the location where the office application is saved (the location selected during the installation process). Click on the Excel software and launch it.
10. To launch the Excel software, you will be prompted to sign in to your Microsoft account. Go ahead and click the "Sign In" button.

11. Enter your Microsoft account details and click the "ok" button. Now you can use the Excel application on your PC.
However, during installation, you may make some mistakes and you may need to uninstall the files and re-install again. Here are the steps followed when uninstalling a Microsoft application in Mac.
1. On your Mac device, open the Finder and navigate to all applications.
2. Locate the Office application you want to uninstall, click on the selected app and then choose the "Move to Trash option."
3.
To completely remove all the folders and files associated with the uninstalled app, follows these steps;
4. On the Finder, menu click View, then click "as List", and then click View > Show View Options. Then, select Show Library Folder and click the "save" button. Go back to Finder Library>Containers. Finally, delete all the files within this location.